Golf Shoe Sizing Between Brands: Measure Both Feet Before Ordering
Use the actual feet, the actual chart and the actual pair, not a remembered box number.
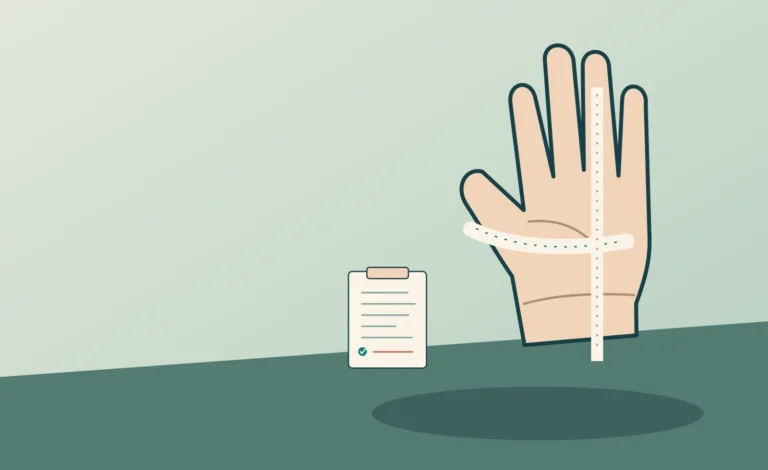
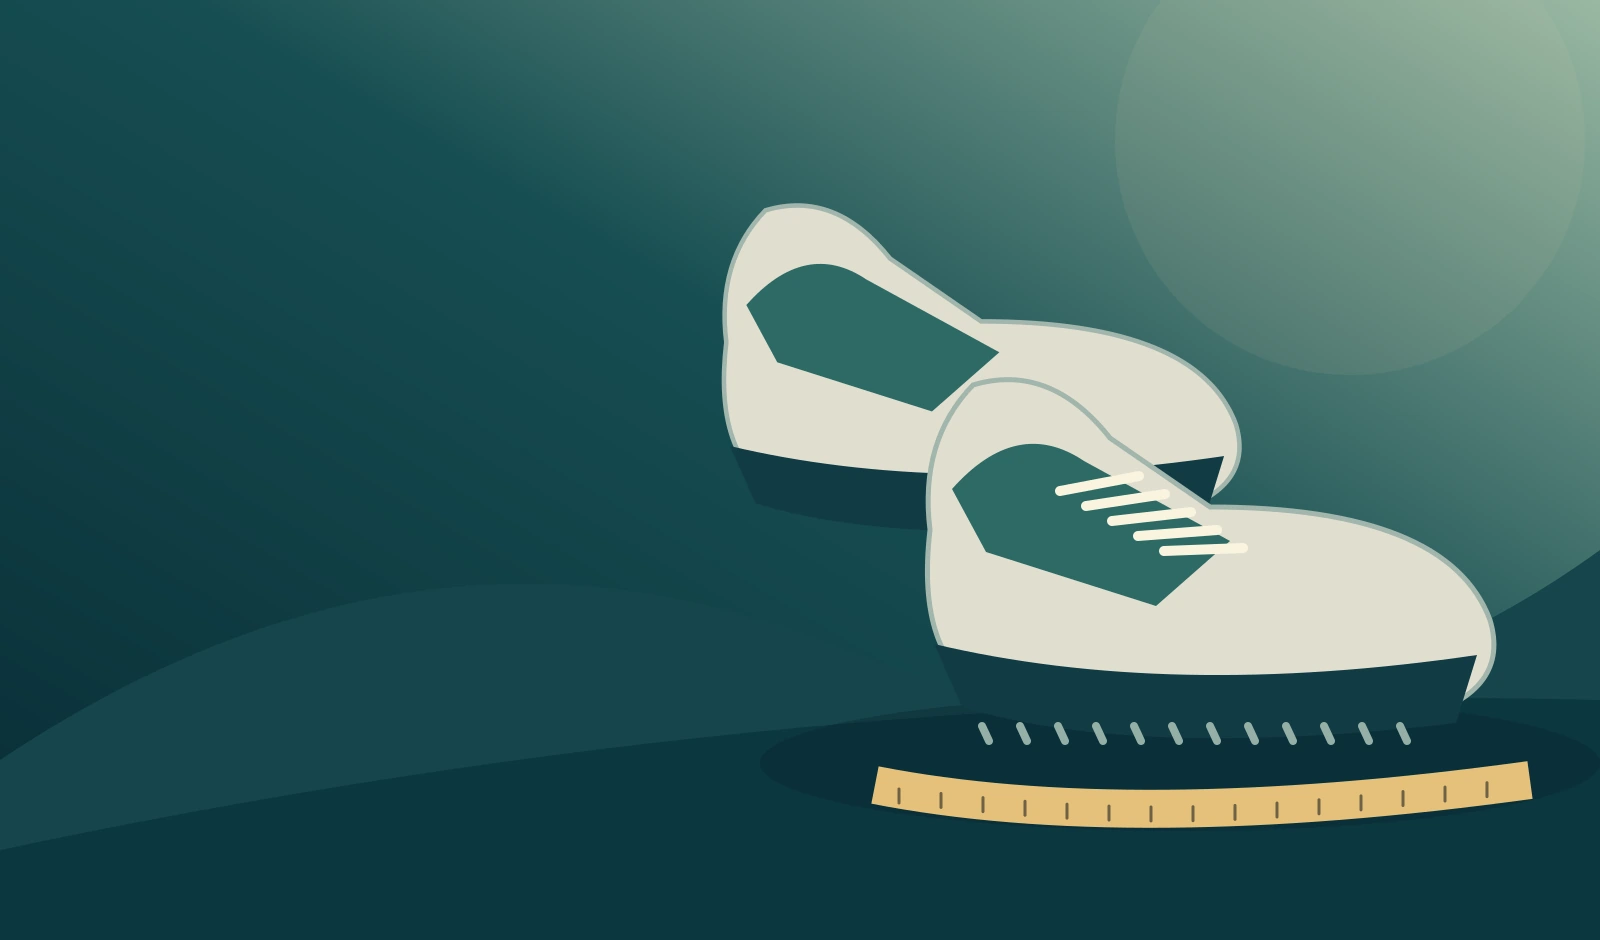
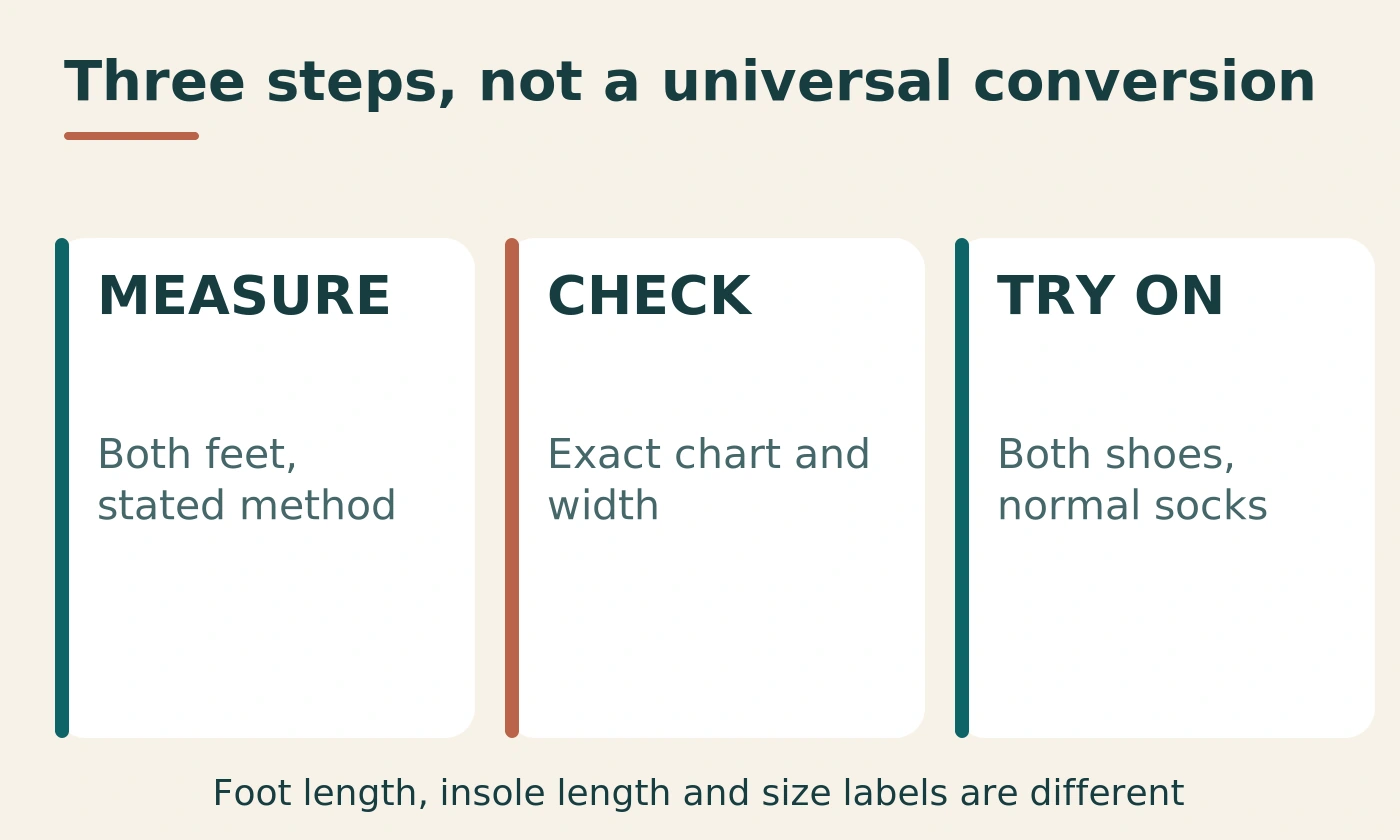
Original conceptual illustration; not a product or test photograph.
Golf shoe sizing between brands is not reliably solved by copying the number from your current pair. The label may use a different sizing system, the model may have a different shape, and your two feet may not require exactly the same space. Measuring both feet gives you a better starting point, but the measurements still need to be interpreted through the actual brand and model guidance.
This guide explains how to make a useful home record, compare charts without mixing up foot length and size labels, and assess a delivered pair indoors before committing to course use. It is a research-led buying guide, not a claim that these shoes have been worn or tested by this website. Persistent pain, skin problems or other health concerns need appropriate professional advice rather than a size-chart experiment.
Left and right
The longer and wider foot may differ.
UK, EU or US
A number without its system is incomplete.
Do not add space twice
Follow the chart's stated input method.
Both shoes indoors
Use normal socks and intended insoles.
Golf shoe sizing between brands: why the old label is not enough
A size number is a starting reference
Your current golf shoe label tells you something about a pair that you have worn, but not everything about the next pair. The new shoe may belong to another sizing system or use a different model shape. Even within a brand, a different construction can feel different around the forefoot, heel or top of the foot. Begin with the label, but do not let it replace a fresh fit check.
Record the exact current model as well as its size and width. "UK 8 wide in this model fits well with these socks" is more useful than "I am a size 8". Also note where the old pair fits poorly. A familiar shoe that has always squeezed one foot is not a good reference simply because you have tolerated it for several seasons.
Fit has more than one dimension
Length, width, heel hold, instep space and the shoe's flex relationship can all affect the experience. A longer shoe may create more room at the front without solving a width problem correctly. Conversely, a wider option may suit the forefoot while leaving another part of the shoe unsuitable. The correct response is to assess the whole fit rather than chase one number.
FootJoy's fitting guide specifically advises considering a wider width before simply increasing length when a shoe feels tight. That is a useful purchasing principle, not proof that every tight shoe needs the same adjustment. The exact model and the location of the pressure still matter. [1]
Measure both feet, and keep both records
Do not reduce two feet to one vague size
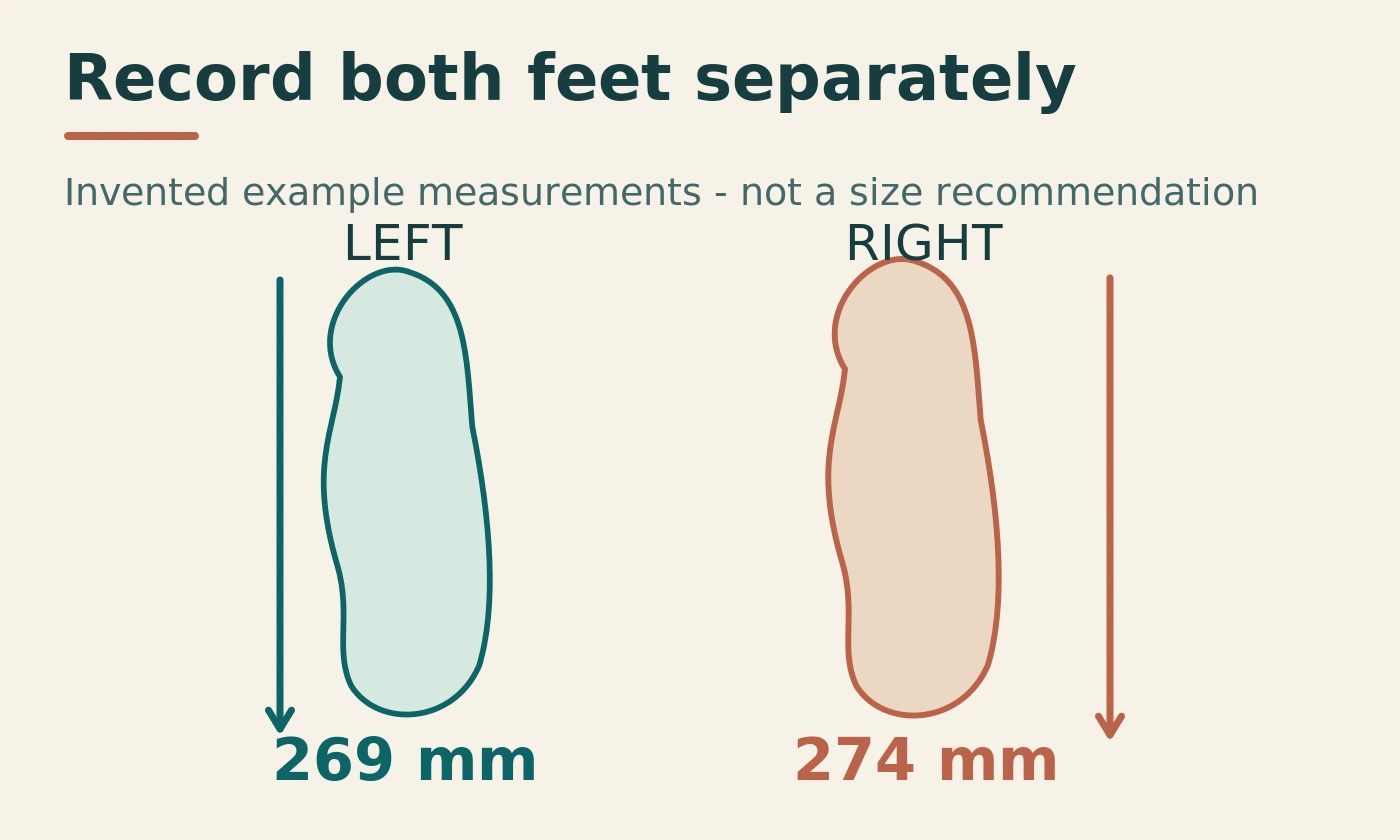
Measure the left and right foot separately. Record which is longer and which is wider rather than assuming they must be the same foot. A pair needs to accommodate both, and a simple statement such as "my right foot is bigger" can conceal a length issue on one side and a width issue on the other.
ECCO's official home guide asks you to repeat its heel-to-toe measurement for the other foot and use the longer result when choosing from its size chart. That supports checking both sides, but length alone still does not establish the complete fit of a particular model. Keep the separate measurements available when asking a retailer for advice. [2]
Repeat before drawing a conclusion
Take each measurement more than once using the same method. If the results vary, check the paper position, heel contact and marking technique rather than immediately choosing the largest accidental reading. A small home measurement error can matter when you are comparing adjacent chart entries, so consistency is more useful than reporting excessive decimal places.
Do not assume that a measurement taken years ago remains the best current reference. FootJoy notes that foot size can change over time and recommends a fresh fitting context. Re-measure when buying, especially when your current pair no longer feels the way it used to. This is a practical fit check, not a diagnosis of why a change occurred. [3]
Use the measurement method that matches the chart
A floor measurement and a fitting device are different methods
ECCO describes a paper-against-the-wall method for home heel-to-toe measurement. FootJoy's Brannock guidance, by contrast, discusses length, width and arch length and specifies a seated fitting position. Do not combine parts of those methods and assume the resulting number has the same meaning. Follow the method associated with the chart or fitting service you are using. [2] [3]
This distinction prevents a common problem: taking a home outline, treating it as a professional arch-length measurement and then selecting a size from a chart that does not use that input. A home record can be useful without claiming to reproduce every measurement a trained fitter can make.
Label the method beside the result
Write "heel-to-toe, wall-paper method" rather than just a number in millimetres. If a retailer asks for another measurement, provide it separately using their instructions. Keep conversion labels, foot measurements and insole dimensions on different lines. They may all use centimetres, but they do not necessarily describe the same physical quantity.
When a chart does not explain what its centimetre column means, ask before ordering. Do not assume it is the usable internal length of the shoe or the length of the removable insole. The meaning of the column is part of the sizing instruction, and a confident-looking conversion cannot resolve an undefined measurement.
Prepare a useful home measuring area
Use a stable reference and ordinary tools
For the wall-paper method, use a flat sheet, a pencil and a ruler or tape that can be read clearly. Place the paper against a straight reference as the brand instructs. Check that a skirting board or another obstruction does not leave an unnoticed gap behind the heel. Keep the paper flat and the floor clear so the measurement is not affected by a fold or a slipping sheet.
The aim is a repeatable home estimate, not laboratory precision. A helper can make the mark more easily while you maintain the required position. Avoid reaching awkwardly and changing your foot placement at the moment you mark the toe. That can create a neat line which no longer represents the position you intended to measure.
Match the intended fitting context
FootJoy and adidas both recommend considering the end of the day when measuring, and FootJoy advises bringing the socks normally worn for golf to a fitting. Follow the brand's instructions about the actual measurement method and use your normal socks for the subsequent shoe try-on. Do not change several parts of the fitting context without recording it. [3] [4]
If you regularly use an insole prescribed or recommended for you, bring it to a qualified fitting and discuss compatibility. Do not remove or alter a prescribed device merely to make a sale pair fit. The shoe should be assessed in the configuration you actually need to wear, not in a temporary arrangement chosen to make the box size seem correct.
Make a clear heel-to-toe record
Follow the wall method without adding your own allowance
Using ECCO's described approach, place the paper against the wall, position the heel at the reference and mark the longest part of the foot. Repeat for the other foot, then measure the distance associated with each mark. Follow the current instructions on the brand page for position and interpretation rather than treating this summary as a universal method for every chart. [2]
Keep the pencil marking careful and the heel position unchanged. The longest toe may not be the one you first expect, so look at the actual foot rather than automatically measuring only to the big toe. Record the result in one consistent unit and avoid rounding it to a familiar shoe size before consulting the relevant chart.
Keep the raw measurement
For an illustrative record, the left foot might measure 269 mm and the right 274 mm. Those are invented example measurements, not a recommendation for a particular shoe size. The next step is to consult the exact brand's instructions with those values, not apply a universal rule that converts 274 mm into the same UK label everywhere.
Retain the raw figures even after a retailer suggests a size. They help when comparing another model later, especially if the first pair is too narrow or too loose despite an apparently suitable length. A size recommendation is an interpretation of the measurements and the shoe, not a replacement for the underlying record.
Measure width without pretending it is a universal width code
Record the widest relevant forefoot area
Use the method the brand or fitter requests for width. A home outline or width estimate can help describe the foot, but it should not automatically be converted into a letter such as D, E or W using an unrelated chart. Those labels need the context of the brand, size and fitting system.
Keep left and right width observations separate. A shoe can have adequate length while pressing across one forefoot, and increasing length may leave the heel less secure. The useful information for a retailer is where the pressure occurs and what the measurements show, not merely that the shoe feels "small".
Ask about the actual width option
Check whether the exact model and size are available in a different width, and whether the listing's wording refers to a genuine width variant or a general description of the shape. A title saying comfortable or roomy is not the same as an identified wide fitting. Confirm the product code and width label before comparing prices.
FootJoy's fitting guide distinguishes width choices and warns against routinely solving tightness by sizing up. Use that as a prompt to ask a better question, not as a reason to assume the widest option is best. A wider shoe can also be unsuitable when it allows excess movement or fails to hold the foot appropriately. [1]
Interpret UK, EU and US labels carefully
Check the system before the number
A number without its sizing system is incomplete. Confirm whether a listing uses UK, EU, US men's or US women's sizing, and whether a marketplace selector has converted the manufacturer's label. Do not assume that two identical numbers on different pages refer to the same length or fit.
The adidas UK chart explicitly displays separate UK, EU, US men's and US women's columns alongside heel-to-toe measurements. That makes it a useful example of why the column heading matters. Use the relevant row and system for the actual product instead of applying a memorised universal offset between countries or categories. [4]
Avoid a cross-brand conversion shortcut
A conversion chart translates labels within the system it describes; it does not guarantee that another brand's shoe has the same internal shape. Even a correct label conversion still leaves width, heel hold and model design to be assessed. The chart helps select a starting size for a try-on, not certify the final fit.
When a retailer's conversion differs from the manufacturer's current guide, ask which size will be printed on the delivered shoe and which guidance they recommend for that model. Save the answer with the order. This is more useful than silently choosing whichever conversion happens to match the size you usually buy.
Do not confuse foot length, insole length and shoe labels
They answer different questions
Foot length measures your foot using a stated method. Insole length measures a component that may curve or taper inside the shoe. A size label is a category within a sizing system. All three can be useful, but none should be substituted for another without the brand's explanation. A longer removable insole does not by itself prove that the toe box will accommodate your foot comfortably.
The shoe's upper, shape and flex area also matter. A flat insole placed under your foot can reveal an obvious mismatch, but it cannot reproduce how the complete shoe holds the heel or accommodates the top of the foot. Do not treat an insole photograph as a complete fitting test.
Avoid adding toe room twice
When a brand asks for foot length and then tells you which shoe size to choose, follow that instruction. Do not automatically add a separate allowance to the foot measurement before using the chart unless the brand explicitly tells you to. Otherwise, you may be adding space to a system that already accounts for the intended fit.
Toe-room guidance during a try-on is a different check. FootJoy suggests approximately half an inch between the longest toe and the shoe's end in its own fitting guide, while also considering flex and movement. Treat that as brand guidance in the complete shoe, not as a universal amount to add to every online size-chart input. [1]
Compare brands by the instructions they actually provide
Use three distinct starting points
For ECCO, follow its home measurement procedure and the current size chart for the relevant category. With adidas, check the heel-to-toe column and the exact UK, EU or US label required. For FootJoy, use its fitting guidance on length, width and the professional measurement context where available. These are research starting points, not a ranking of which brand fits best.
The key is to preserve each method's meaning. Do not take a FootJoy conversion label, treat it as an adidas heel-to-toe measurement and then use an ECCO chart to choose the final size. That chain can look careful while mixing incompatible inputs. Keep one brand's instructions together from measurement to proposed order.
Compare the exact model, not a brand stereotype
Statements such as "this brand always runs small" may hide differences between models, widths and the reviewer's feet. Use them as questions to investigate, not as a rule to size up automatically. Look for the current model's guidance and ask the retailer when your measurements sit near a boundary or your usual fit is unusual.
| Source | Useful starting information | What still needs checking |
|---|---|---|
| ECCO official guide | Home heel-to-toe method; both feet | Exact model shape and complete try-on |
| adidas UK chart | Heel-to-toe and clearly labelled size systems | Product-specific fit and width |
| FootJoy fitting guidance | Length, width, flex and fitting context | The actual pair on both feet |
On smaller screens, scroll this table sideways.
The table summarises the role of the checked guides, not a guaranteed size equivalence between brands. [1] [2] [4]
Shortlist models before ordering several sizes
Choose the fit features you need
Start with the intended use, required width options and the way you normally secure the shoe. Then check whether the shortlisted model offers those features in the relevant size range. A sale price is less useful when the available version is the wrong width or the closure cannot accommodate your foot comfortably.
Do not order several unrelated models merely to create a large comparison. A focused shortlist is easier to assess and return correctly where permitted. Keep the exact model, width, sizing system and retailer on a small sheet so that a delivered box can be checked against what you intended to buy.
Make the uncertainty explicit to the retailer
A useful enquiry includes both foot lengths, the relevant width information, the current model that fits well or poorly, and the new model you are considering. Ask which chart and width they recommend using. Do not ask only "does this brand run big?", because the answer may be too broad to help with your actual pair.
If the retailer cannot give a confident recommendation from the information, an in-person fitting may be more efficient than repeated online orders. A cautious answer is not a failure of service. It recognises that measurements and labels cannot fully describe the way a particular shoe fits an individual foot.
Read the try-on and return conditions before paying
Confirm what assessment is permitted
Check the seller's current conditions for indoor trying-on, tags, packaging, delivery charges and returns. Do not assume that wearing a shoe on the course leaves it returnable under a change-of-mind policy. This guide does not provide a legal guarantee or a universal account of every retailer's terms.
Save the product page and the relevant order details, especially the sizing system and width selected. When the pair arrives, compare the box and shoe labels before removing anything unnecessarily. A fulfilment error should be identified before a fitting session becomes a discussion about the wrong model or size.
Protect the condition while assessing fit
Choose a clean, suitable indoor surface and follow the retailer's permitted try-on conditions. Consider whether spikes or the outsole could mark the floor; a carpet is not automatically appropriate for every sole. Do not test waterproofing, walk outside or remove protective labels simply to make the assessment feel realistic.
A short indoor check cannot reproduce an entire round, but it can reveal obvious length, width or heel-hold problems. That is enough to reject a clearly unsuitable pair without hoping the course will somehow improve it. Keep the assessment controlled and stop when the fit is plainly wrong.
Try both shoes with the socks you will actually use
Do not judge the pair from one foot
Put on both shoes with your normal golf socks and the intended insole arrangement. Secure them according to the closure instructions, without excessive force. Stand and walk only as the indoor assessment conditions and your comfort allow. The longer or wider foot may reveal a problem the first shoe did not show.
A common comparison error is wearing one candidate on the left and another on the right, then declaring one model more comfortable. Because the feet can differ, that is not a clean comparison. Try each complete pair and, where practical, repeat the order. Keep left and right observations separate instead of attributing every difference to the shoe.
Note where the fit is wrong
Use specific descriptions: pressure across the forefoot, contact at the longest toe, movement at the heel or restriction over the instep. Those observations guide the next decision better than a single label such as tight or loose. They can point towards another width, another size or a different model shape, depending on the complete fit.
Do not compensate for an unsuitable shoe by wearing an unrepresentative thin sock during the test and then switching back for golf. That creates a fit you will not actually use. The purchasing decision should be based on the normal configuration, even when that means rejecting a pair you like visually.
Check toe space and forefoot comfort separately
Length should not conceal a width issue
With the shoe secured normally, assess whether the toes have appropriate space according to the brand's guidance and whether the forefoot feels compressed. Do not assume that any pressure near the front means the shoe must be longer. A width or shape mismatch can remain even after moving up a size.
FootJoy's guidance considers toe room, forefoot flex and excess movement together. That combination is more useful than measuring only the gap at the front. A shoe can have visible spare length while still squeezing the sides or bending in an uncomfortable place. Assess the whole relationship rather than treating toe clearance as the sole pass/fail criterion. [1]
Do not rely on painful break-in
A new shoe may feel different from a worn pair, but obvious painful pressure or toe contact should not be accepted on the assumption that it will disappear. Stop the assessment and consider another size, width or model. This guide does not promise that stretching or wearing-in will correct a structural mismatch.
Avoid home stretching, cutting or inserting improvised padding while deciding whether to keep the pair. Such changes can obscure the original fit and affect return options. Ask the retailer or a qualified fitter about the specific issue before altering the shoe. A correct purchase should not depend on an untested repair to make it wearable.
Check heel security and the top of the foot
Secure does not mean over-tightened
Fasten the shoe as intended and observe whether the heel moves excessively during a short indoor walk. Do not tighten the laces or dial to an uncomfortable level merely to hold a shoe that is too large or unsuitable in shape. A closure adjusts the fit within the design's range; it does not make every foot compatible with every model.
Also notice pressure over the instep and around the closure. If the top feels restrictive while the length is suitable, record that distinction. Increasing length may create new movement without solving the original shape issue. A different width or model may be the better direction to discuss with the retailer.
Follow the closure's own instructions
Laces and dial systems can have different intended adjustment and release methods. Use the actual product instructions rather than improvising a rethreading pattern or pulling against a locked mechanism. If a closure is defective or will not operate normally, treat it as a product issue rather than a fitting challenge.
For comparison, secure both shoes consistently and avoid judging one pair with loose laces against another tightened firmly. That changes the conditions of the test. A simple note about the closure and any pressure point helps you explain why a pair was rejected without turning the decision into a vague preference for one brand.
Use a short indoor walking check
Observe ordinary movement
Walk a short, clear route on a suitable clean surface, then turn and stop normally. Keep the assessment within the seller's permitted conditions and your own comfort. Look for toe contact, heel movement, pressure or an awkward flex point that was not obvious while standing still. You do not need to perform full golf swings in a confined room.
A gentle address position or weight shift can be considered when safe, but it is not a substitute for a complete fitting. Do not twist aggressively to test traction on an unsuitable floor. The aim is to identify obvious fit problems, not simulate every force of a round or prove that the outsole grips a household surface.
Keep the conclusion proportionate
A comfortable indoor check supports keeping the pair under the conditions you assessed, but it does not guarantee an entire round without discomfort. Build familiarity sensibly and stop if problems develop. Conversely, a clear indoor problem is a strong reason to reconsider before the shoes are used outdoors.
Record the observations immediately, particularly when comparing adjacent sizes. A simple left/right note helps you avoid choosing the pair that happened to be tried when you were less tired or using a different sock. The comparison should remain about the actual fit, not the most recent impression.
Handle between-size decisions without an automatic rule
Find out which part is between sizes
A foot-length measurement near a chart boundary is different from a shoe that fits in length but not width. Identify the problem before choosing the next size. If the smaller pair presses at the toe and the larger pair holds the foot comfortably, that is one situation. If both have the same forefoot pressure but the larger heel slips, it is another.
Do not apply a universal instruction to always size up or always size down between brands. Follow the exact model guidance and use a complete try-on where possible. The right outcome may be another width or a different shape rather than either of the two adjacent length labels.
Compare the alternatives on both feet
Try each candidate pair in the same socks and setting, and make notes before moving to the next. Do not use one shoe from each size as the only comparison, because differences between your feet can distort the result. When uncertainty remains, an in-person fitter can help assess the complete relationship.
Keep the preferred pair's model and width recorded, not just the final size number. That detail explains the successful fit later and prevents you from assuming that every shoe with the same label will behave similarly. A between-size decision is specific to the product and the feet being fitted.
Consider unequal feet and usual insoles carefully
The longer foot is not the only concern
A pair selected for the longer foot still needs to hold the other foot appropriately. Likewise, accommodating the wider forefoot should not create unacceptable movement elsewhere. Do not solve a substantial mismatch by stuffing one shoe with improvised material. Discuss the options with a qualified fitter or the brand rather than trying to force a standard pair to work.
FootJoy's fitting material discusses uneven-pair options within its own offering. Availability and suitability need checking for the current product and market; it is not a promise that every retailer can supply different sizes in one order. The useful point is that a significant left/right difference deserves an explicit fitting conversation. [1]
Assess the shoe with the intended insole arrangement
A removable insole can affect the available space, but removing it is not a universal sizing adjustment. Follow the shoe's instructions and any professional advice associated with your usual insole. Do not assume that a model with a removable footbed automatically accommodates every orthotic or that doubling insoles is a safe way to tighten a loose shoe.
Bring the actual insole to an in-person fitting where it is part of your normal setup. A retailer cannot reliably assess the space it occupies from a generic description alone. Keep the final record clear about the configuration used so a later purchase does not repeat a fit check under different conditions.
Keep health concerns separate from a retail size decision
Stop when symptoms are more than a fit preference
Persistent pain, numbness, skin damage or other concerning symptoms should not be treated as an invitation to keep trying random sizes. Stop wearing the problematic pair and seek appropriate professional advice. A shoe-sizing guide cannot diagnose the cause or promise that a particular brand will relieve it.
You can still describe the equipment issue clearly: where the shoe presses, when the problem begins and which socks or insoles are involved. That information may help the relevant professional, but it should not become a self-diagnosis based on a size chart. Fit, comfort preference and medical assessment are related but distinct questions.
Avoid unsupported therapeutic claims
Do not choose a shoe solely because a review says it cures a condition or because a marketing phrase sounds clinical. Ask what the actual product offers and whether it is appropriate for your circumstances. This article does not rank shoes as treatment devices or promise injury prevention from a correct size.
The practical goal is a well-assessed fit for golf use. Where a health professional has given specific advice, bring that into the fitting rather than overriding it with a general online recommendation. A purchase should support the required setup, not replace the assessment that established it.
Keep a small fit record for future purchases
Save more than the box size
Record the successful model, width, sizing system, sock and insole arrangement, together with your current left/right measurements. Add a brief note about what did not fit in the rejected alternatives. This gives you a useful starting point next time without pretending the measurements or model will remain unchanged forever.
For example, a note saying "length suitable; forefoot too narrow in regular width; wide version held heel better than the next length up" explains the decision. A note saying only "bought UK 9" loses the reason. The more specific record can also make a retailer enquiry shorter and more productive.
Recheck when the product changes
A new generation, different outsole or updated upper can justify another careful try-on even when the name is familiar. Do not assume that a previous success removes the need to check the new pair. Likewise, re-measure when your current shoes no longer feel the same or when the normal sock and insole arrangement changes.
The record is a starting reference, not a permanent personal size certificate. Its value is helping you ask precise questions and avoid repeating known mistakes. Keep it simple enough that you will actually use it when comparing a future pair.
Pros and cons of measuring before ordering
Why the extra preparation helps
Measuring both feet and checking the actual chart can reduce avoidable confusion about sizing systems and width. It also makes retailer advice more specific and gives you a way to compare an unsuitable delivery with the intended order. The process is inexpensive and can be repeated without specialist equipment for the basic home record.
It encourages a better purchase than relying on a brand stereotype or a sale label. You begin with the actual feet, the intended model and the relevant method. That does not guarantee a perfect online order, but it creates a more defensible starting point and a clearer reason for any exchange.
Why a try-on still matters
Home measurements do not fully describe the shoe's shape, closure, heel hold or flex relationship. Charts can narrow the options, but the complete pair still needs assessment on both feet. A measured recommendation should therefore remain a starting size rather than an unconditional promise.
The process also requires careful interpretation. Mixing measurement methods or adding toe allowance twice can create a worse result than using the brand's instructions directly. Keep the inputs clear, preserve the raw measurements and ask for help when the chart's meaning is uncertain.
Common mistakes when switching brands
Copying the number and ignoring the width
A familiar UK label is not enough when the old pair was a wide version and the new listing is regular. Record the complete specification and check what will actually be delivered. A size increase used to compensate for missing width can create excess length or heel movement without resolving the original pressure.
Another mistake is using a US men's number in a US women's or unisex context without checking the chart. Read the system heading, not just the numeral. Marketplace conversions deserve particular attention when the selectable size and the manufacturer's printed label are different.
Testing a configuration you will not wear
Do not assess the shoe in unusually thin socks or without your normal approved insole merely to make it feel roomy. That does not represent course use. Keep both shoes, socks and closure conditions consistent, and record left/right differences rather than judging the pair from the easier-fitting foot alone.
Finally, avoid wearing a clearly uncomfortable pair outdoors in the hope that break-in will solve it. Stop at the indoor stage, preserve the condition and discuss another size, width or model under the retailer's current terms. A rejected pair can be the correct outcome of a successful fit check.
Frequently asked questions
Are UK golf shoe sizes the same between brands?
The UK label is a useful reference, but it does not guarantee identical fit or model shape. Check the exact brand's guide, width and product-specific information. Measure both feet and assess the complete pair rather than assuming that the number from an old shoe transfers automatically.
Should I measure the bigger foot only?
Measure both and record length and width separately. The longer foot and wider foot need not be the same side. Keeping both records gives a retailer or fitter more useful information than a single statement that one foot is bigger. The pair must accommodate both feet appropriately.
Should I add extra centimetres before using a size chart?
Only when the brand explicitly instructs you to. A chart that maps measured foot length to a recommended shoe size may already account for the intended fit. Adding another allowance can oversize the result. Keep foot measurement, insole length and toe-room checks separate.
Is sizing up the best answer to a tight forefoot?
Not automatically. Consider width and model shape as well as length. A longer shoe may leave excess movement while still pressing in the wrong place. FootJoy's guide specifically suggests checking a wider option before routinely increasing length for tightness. Assess the whole fit rather than one pressure point in isolation. [1]
Can I compare two models by wearing one on each foot?
That can give an initial impression, but it is not a complete comparison because your feet may differ. Try both complete pairs under the same conditions and note each foot separately. Otherwise, a difference between feet may be mistaken for a difference between models.
Should golf shoes feel painfully tight when new?
This guide does not recommend accepting painful pressure as a normal requirement. Stop the try-on and consider another size, width or model. Do not rely on an unsupported break-in promise or alter the shoe while deciding whether to keep it. Persistent symptoms require appropriate professional advice.
Do I need an in-person fitting?
It is particularly useful when the charts conflict, the feet differ substantially, usual insoles affect the fit or repeated online purchases are unsuccessful. Bring the current measurements, normal socks and the actual insole arrangement. A fitter can assess details that a home length measurement cannot establish alone.
Final recommendation: measure first, then fit the actual pair
Keep separate measurements for both feet, use the method attached to the relevant brand guide and check the exact model, width and sizing system. Do not combine unrelated conversion charts or add an allowance that the instructions do not request. A careful starting size is useful, but it remains only a starting point.
Try both shoes in the configuration you will wear for golf, with a short, permitted indoor assessment of toe space, width, heel hold and movement. Reject a clearly unsuitable fit before course use. Golf shoe sizing between brands becomes much easier when the decision is based on the actual feet and actual pair, rather than a number remembered from the last box.
Sources and fact-checking notes
Official material was checked on 4 October 2026. Manufacturer specifications and instructions are distinguished from the suggested practical checks in this guide. Illustrative examples are not original product-test results. Check the exact current model instructions before acting on a consequential specification.
- FootJoy – Golf shoe fitting guideBrand guidance on toe space, width, flex, movement and unequal-pair options; no performance percentage is adopted.
- ECCO GB – Official size guideWall-paper heel-to-toe method, both feet and the longer-foot chart reference.
- FootJoy – Measuring shoe sizeBrannock fitting context, measurement dimensions, timing and normal golf socks.
- adidas UK – Shoe size chartHeel-to-toe column and distinct UK, EU, US men's and US women's labels. Use the exact product guidance.
Illustrations in this article were created for Taylor’s Trailblazing Golf Gear. Third-party photographs, where used, are credited beside the image or in the source list.