

How to Fit a Golf Bag Carry Harness: A Loaded Walking Test
Fit the bag you actually carry, not an empty bag with matching strap tails.
Original conceptual illustration; not a product or test photograph.
How to fit a golf bag carry harness is best answered with the bag loaded for the walk you actually intend to take. An empty stand bag can feel balanced in a shop and behave differently once it contains clubs, water, waterproofs and the small items that collect in its pockets. The useful check is not whether two loose strap ends look equal; it is whether the loaded bag stays controlled and the harness remains comfortable in use.
This guide provides a cautious, repeatable walking check for an existing carry bag. It does not prescribe a safe load for every golfer, diagnose discomfort or claim that a particular harness has been tested by this website. Use your bag manufacturer's instructions for routing and adjustment, and stop when the bag, straps or your comfort give you a reason to do so.
Inspect the anchors
Damage is not a load-test invitation.
Your normal load
Include water and realistic weather layers.
One reversible change
Set the bag down before changing settings.
Controlled ordinary walking
A short check is not a full-round guarantee.
How to fit a golf bag carry harness: define a useful fit
Look for control rather than a universal position
A useful fit lets you put the bag on and take it off without a struggle, walk normally and keep the load controlled without repeatedly hitching a shoulder. The bag should not force you to hold it in place with a hand throughout the walk. However, there is no single strap-tail length or bag angle that this guide can prescribe for every body and harness design.
Golf carry bags are not all constructed like hiking backpacks. Their attachment points, padding and intended carrying position differ. Start with the manufacturer's arrangement, then evaluate how your loaded bag behaves. A photograph of another golfer can suggest something to ask about, but it cannot establish the correct configuration for your model or your own comfortable carrying position.
Separate fit, load and suitability
Three questions need separate answers. Is the harness correctly attached and adjusted? Does the bag contain a sensible load for the intended walk? Is carrying this bag a suitable choice for you today? A problem in one area cannot necessarily be solved in another. Better strap adjustment does not make damaged hardware acceptable or guarantee comfort with an excessive load.
Keep the desired outcome modest and observable. You are looking for a controlled, manageable carry during a cautious check, not proof that you can walk a full round without difficulty. A short successful test is useful evidence, but a longer course walk introduces time, terrain and fatigue that the home exercise does not reproduce.
Identify the harness system before touching the buckles
Find the exact instructions
Record the bag make, model and approximate generation. Look for its original instructions or the manufacturer's support material. A harness may have independent straps, a central connection or a self-adjusting mechanism, and the adjustment sequence can differ. Do not assume that a video for another bag applies because the straps have a similar colour or number of buckles.
Sun Mountain's own support page separates instructions for installing and adjusting E-Z Fit shoulder straps from material for X-Strap systems. That is a practical example of why the system name matters. Use the relevant official instruction rather than creating a universal rethreading method from a photograph of a different design. [1]
Understand what is intended to move
A central pivot or sliding mechanism may be designed to move as you walk. That does not mean every moving part is loose or defective. Conversely, a buckle that slips under load should not be dismissed as "self-adjusting" without checking the actual design. Read the model information and distinguish intended movement from a setting that will not remain secure.
VESSEL describes its Equilibrium 2.0 double strap as using a self-adjusting four-point swivel mechanism. PING describes the Hoofer's shoulder straps as padded and convertible. These are manufacturer descriptions of named systems, not a reason to use identical adjustments on both bags. The useful comparison is the mechanism and intended configuration, not an untested comfort ranking. [2] [3]
Inspect the bag before loading it
Check the parts that carry the weight
Look at the webbing, stitching, buckles, clips and attachment points in good light. Note visible fraying, splitting, cracks, distorted hardware or areas that have pulled away from the bag. If anything appears damaged or has changed unexpectedly, do not load-test it to find out how much it can withstand. Contact the manufacturer or an appropriate repair professional.
Also check that straps are not twisted and that any detachable connectors are seated as the instructions require. A strap routed through the wrong opening can look tidy while behaving differently under load. Do not improvise a repair with a knot, cable tie or general-purpose clip. The connection is part of the carrying system and needs an approved solution.
Inspect the stand and the bag body
Set the bag on a stable surface and check that the stand operates normally and the bag can rest securely. Keep fingers clear of moving parts. A carrying adjustment should not hide a damaged stand, a distorted base or a pocket that is tearing under load. Those issues affect the overall usefulness of the bag even when the shoulder pads feel comfortable.
Empty the pockets while you inspect them. This reveals forgotten items, loose objects and any damage hidden by the contents. It also gives you a clean starting point for a realistic packing plan. The objective is not to strip the bag to an artificial minimum, but to know what is being carried and why it is there.
Build the load you actually expect to carry
Include the ordinary essentials
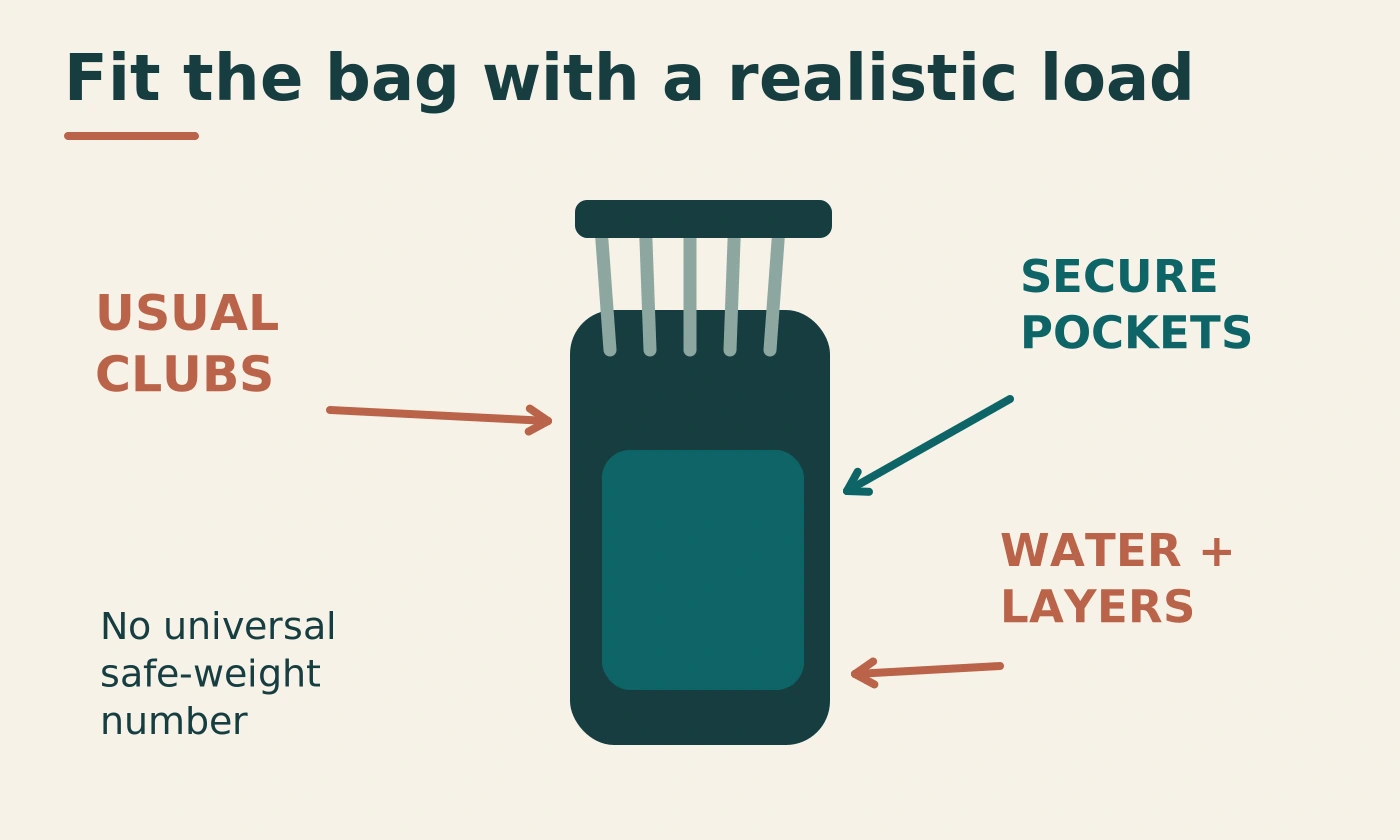
Load your normal club selection, balls, tees, glove, water and the clothing you would reasonably carry for the intended round. Include a rangefinder, umbrella or other accessory only when it genuinely belongs in that day's setup. An empty-bag adjustment can miss the way a filled pocket or water bottle changes the balance.
Keep the test realistic rather than deliberately heavy. This guide does not supply a universal safe bag weight or a percentage-of-body-weight rule. Your capacity, health, route and conditions matter, and a number copied from another sport would not settle the question. Reduce the load or choose another transport option when the intended carry is not comfortably manageable.
Remove accidental weight, not necessary preparation
Empty out duplicate accessories, old packaging and unnecessary accumulations of balls. However, do not remove essential water or appropriate weather protection simply to make the bag pass a short test. That would create a lighter demonstration bag rather than a useful course setup. The aim is deliberate packing, not winning an arbitrary weight contest.
Write a short load description, such as "usual clubs, full water bottle, waterproof jacket and normal accessories". A measured bag weight can be added when suitable scales are available, but the description is still valuable. It lets you repeat the test later and understand why a winter load may feel different from a light summer arrangement.
Arrange the contents before adjusting the harness
Put the load where the bag is designed to hold it
Use the intended club compartments and pockets, and secure loose items that can shift as you walk. Keep closures fastened and avoid hanging heavy objects from points not designed to carry them. A harness cannot fully compensate for a poorly controlled load swinging outside the bag or repeatedly moving between pockets.
Do not assume that every large pocket should be filled. Capacity is not a carrying target. Place frequently used items where you can retrieve them after setting the bag down, and keep small hard objects from pressing awkwardly through areas that contact you. Follow any model-specific organisation guidance rather than rearranging clubs solely to imitate another bag's layout.
Make balance changes before chasing strap tension
If one side contains most of the dense accessories, redistribute suitable items within the bag's intended storage before tightening one strap to counteract the imbalance. Keep water and other essentials secure in the appropriate pocket. The goal is a controlled load, not mathematically identical pocket weights.
After moving an item, repeat the same short standing check. This helps you tell whether the improvement came from packing or from a harness adjustment. Changing both together can work, but it makes the result harder to reproduce. A clear process is especially useful when you later add rain gear or replace an accessory with a heavier one.
Establish the starting harness arrangement
Return to the manufacturer's basic configuration
Use the relevant instructions to confirm strap routing and any central connector position. If the harness has been detached or altered and you cannot establish the correct arrangement, ask the manufacturer before carrying the loaded bag. Do not reverse-engineer a safety-critical connection from an online photograph of a different model.
Set the bag down safely while making changes. Avoid trying to pull unfamiliar buckles or reroute straps while the load is on your shoulders. Working with the bag supported makes it easier to see what you are changing and reduces the chance of losing control of the load. Keep the adjustment process separate from the walking test.
Record the starting point without over-measuring it
Photograph the buckles and note the visible strap-tail positions. These are reference points for returning to the starting setup, not a universal prescription for someone else. Equal tail lengths are not necessarily required on an asymmetric bag or harness, so do not force symmetry when the design and comfortable carry call for something different.
Use temporary notes rather than permanent marks that obscure labels or affect the webbing. A simple record is enough to avoid repeatedly losing a workable setting. When you change only one part at a time, the photographs also make it easier to identify which adjustment improved or worsened the result.
Put the bag on and check the standing position
Use a controlled lift and the intended handles
Lift and position the bag using its intended carrying handles and harness, with help when needed. Do not grab a stand leg or an accessory loop to lift the full load. If putting it on requires an awkward swing or a struggle, stop and reconsider the arrangement, load or suitability of carrying rather than repeating the movement until it feels routine.
Once the harness is in place, stand normally for a brief check. Notice whether the pads sit as intended, whether the straps twist and whether the bag presses against you in an uncomfortable way. Do not hold a forced posture to make the bag look well fitted. The test should describe your ordinary stance with the load present.
Check the bag and clubs together
Look for a bag position that remains controlled without the clubs tipping into an insecure arrangement or interfering with your movement. Follow the model's intended carrying orientation. Avoid prescribing a universal angle or height from a generic diagram, because the attachment geometry and club arrangement differ between bags.
Ask a helper to describe what they see or take a short recording from a safe position. The useful observations are specific: one pad is twisted, the bag swings away when you turn, or a buckle changes position. Broad comments such as "it looks low" need to be connected to the actual design and your comfort before they become adjustment instructions.
Adjust one thing at a time
Make a small, identifiable change
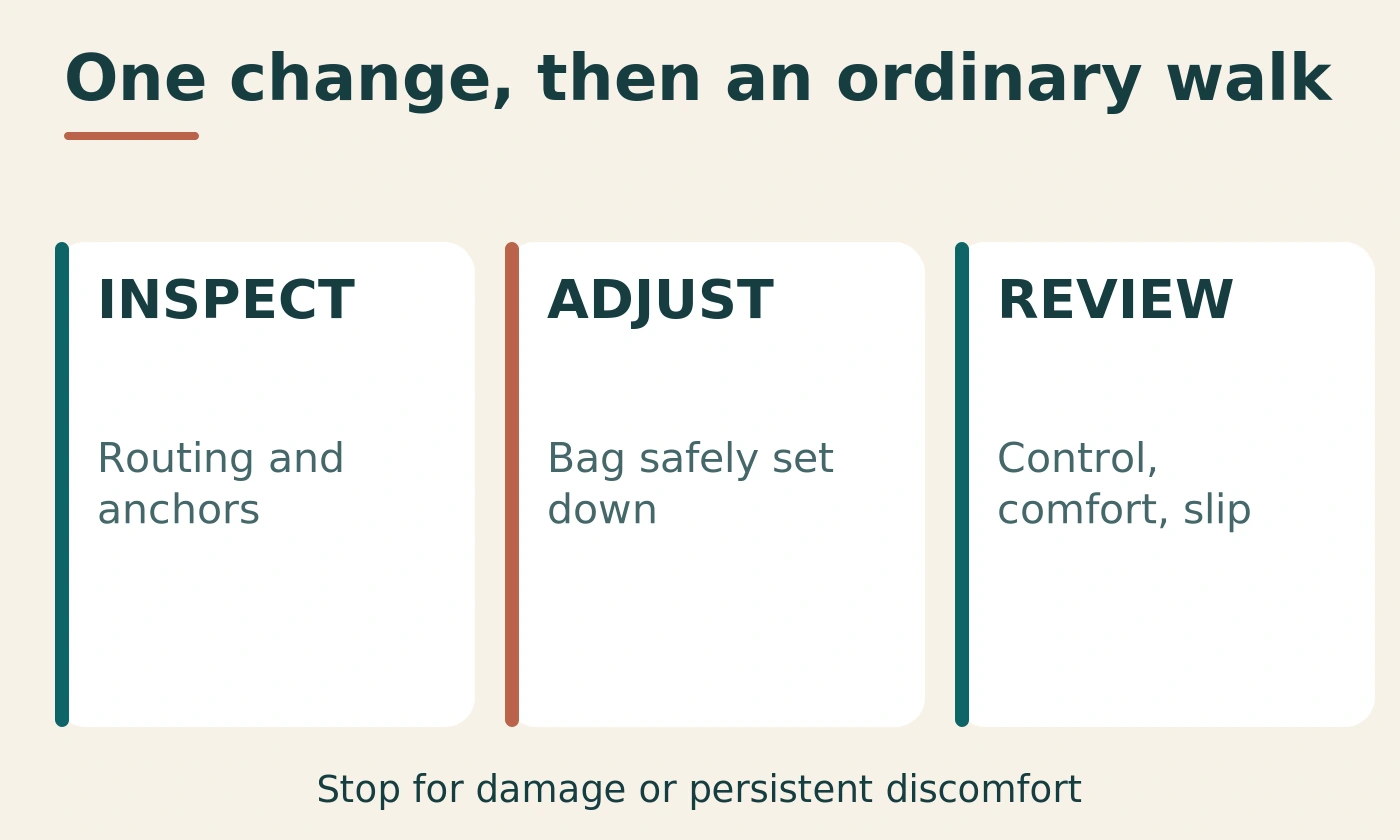
Set the bag down and use the model's adjustment method to make one modest change. That might concern an individual strap or another designated adjustment point, depending on the harness. Do not move every buckle at once. You want to know whether the change improved the carry and how to reverse it if it did not.
Put the bag back on and repeat the same brief standing check. Compare the pad position, bag control and ease of putting it on. If the new setting creates a different problem, return to the recorded baseline before trying another change. A deliberate sequence is less frustrating than repeatedly tightening the whole system and hoping it eventually feels right.
Do not tighten your way through a mismatch
A harness that only feels secure when it is excessively restrictive may not be suitably arranged, loaded or matched to you. Likewise, a slipping buckle needs investigation rather than continual retightening. The correct response may be a different approved strap configuration, a repair or another bag, not more tension.
Keep the distinction between adjustment and modification clear. Using the intended buckle is adjustment; adding unapproved hardware, sewing a new anchor or changing the load-bearing arrangement is a different project. This guide does not provide instructions for those modifications. Ask the manufacturer about approved parts and compatible replacement harnesses instead.
Run a short, level walking check
Start with a manageable route
Choose a clear, level route close to where you can set the bag down. Begin with only a few minutes, at your normal comfortable pace, and stop sooner if anything feels wrong. The duration is a suggested observation window, not a safety standard or proof that the setup will remain comfortable for a full round.
Notice whether the bag sways, the straps migrate, a buckle slips or you repeatedly reach back to steady the load. Also note any contact between clubs, accessories and your body that makes normal walking awkward. A helper's short video can show movement you do not notice while concentrating on the carry, but it should not become a reason to continue through discomfort.
Evaluate the ordinary movements too
Include a gentle turn and a normal stop, keeping the route safe and uncluttered. Do not jump, jog or deliberately jolt the bag as a stress test. The purpose is to observe the carrying task you intend to perform. Aggressive testing can create risks without answering whether the bag is comfortable for ordinary walking.
After setting the bag down, check whether the adjustment references have changed. A moving self-adjusting mechanism should be interpreted according to its design, while an unwanted buckle slip needs attention. Record the observation precisely. "Left strap tail moved during the walk" is more useful than "the harness feels unreliable" when asking the manufacturer for help.
Test taking the bag off and accessing equipment
A good carry includes the transitions
A round involves repeated changes between carrying, setting the bag down and taking out a club. Therefore, a harness that feels acceptable while walking but is awkward to remove still deserves attention. Practise the ordinary transition slowly on a stable surface, using the intended handles and keeping the stand mechanism clear.
Check that loose strap tails do not catch on clubs or interfere with the stand. Use any supplied keepers according to the instructions. Do not cut excess webbing simply because it looks untidy; you may need the adjustment range later, and alteration can affect the intended use. Ask the manufacturer how to manage the surplus safely.
Reach items after setting the bag down
Check access to the pockets you use frequently, such as water, balls or a rangefinder. Avoid contorting while carrying the bag merely to prove that a pocket is reachable. The practical question is whether a normal stop gives you straightforward access without unloading half the contents or upsetting the stand.
If access is poor, consider moving the item to another intended pocket before changing the harness. Storage and fit interact, but they are not the same issue. A bag may carry well yet be inconveniently organised. Keeping those observations separate helps you make the smallest useful change instead of destabilising a comfortable setup to solve a pocket problem.
Repeat with the outer layer you really wear
Clothing can change the practical fit
A waterproof jacket, insulated layer or thin summer shirt changes the surface under the pads and the space available within the harness. Repeat a short check with the clothing appropriate to the planned round. Do not assume that a setting chosen over a T-shirt will behave identically over a bulky jacket.
Make only the necessary adjustments and record them separately. A simple note such as "rain jacket: slightly more room at the designated adjustment" is enough when linked to your own reference photographs. Avoid a universal instruction to lengthen every strap by a fixed amount, because the change depends on the harness and clothing combination.
Watch for slipping without blaming the jacket alone
If the straps move on a particular layer, check routing, pad position and load control before deciding the clothing is the sole cause. A slippery surface may reveal an existing fit issue, while a bulky seam or hood can create a new point of contact. The relevant observation is what happens with the actual combination you intend to wear.
Do not add improvised chest straps or friction materials to hold the harness in place. Ask the manufacturer about the intended configuration and compatible options. If the combination remains uncomfortable or unstable, choose a different approved setup or another way to transport the clubs rather than trying to force the result with untested additions.
Introduce terrain cautiously
A level test is only the first stage
Once the bag is comfortable and controlled on a short level route, try a slightly longer walk in a safe, familiar setting. Include only modest terrain that you would ordinarily manage, and stay close enough to stop easily. Avoid making a steep slope the first test of a newly adjusted harness.
Look for changes in bag movement when walking uphill or downhill, but do not treat the test as a challenge to your endurance. The outcome can be that the setup is suitable for a short, light carry but not for the intended course. That is useful information when deciding between a carry bag, trolley or another permitted transport option.
Do not turn a home check into a full-round guarantee
A course introduces distance, repeated lifting, weather and fatigue. Even a good short test cannot certify comfort over all of those conditions. Build up cautiously and stop when needed. If you already have a relevant health concern or difficulty carrying, seek appropriate advice before using a long round as an experiment.
Keep notes after the walk rather than repeatedly adjusting while moving. Record when discomfort or instability first appeared, what the load was and whether the straps had slipped. Those details are more useful to a retailer or professional than a general statement that the bag felt fine at home but failed on the course.
Diagnose the symptom before changing the setting
Match an observation to a sensible next check
A bag that swings may have a loose or unsuitable adjustment, an uneven load or a harness that does not suit the bag. A strap that digs in may involve pad position, routing or overall load. These are possibilities to investigate, not diagnoses. Start with the visible, reversible checks and stop when damage or persistent discomfort is involved.
Do not assume that the same symptom always has the same solution. Tightening a strap may reduce movement in one arrangement and make another arrangement more restrictive. The reason for changing one thing at a time is to learn from your own bag rather than apply a generic fix indiscriminately.
| Observation | First check | Stop or seek help when |
|---|---|---|
| Repeated buckle slip | Correct routing and visible condition | It will not hold the intended setting |
| Twisted shoulder pad | Strap orientation and attachment sequence | The approved arrangement is unclear |
| Bag swings on a level walk | Load placement and intended adjustment | Control remains poor after sensible checks |
| Uncomfortable contact | Pocket contents, pad position and load | Discomfort persists or symptoms develop |
| Awkward lifting transition | Intended handles, load and harness access | Putting it on requires a struggle |
On smaller screens, scroll this table sideways.
Keep the response proportionate
A forgotten hard object in a pocket may need nothing more than repacking. A cracked buckle needs a different response. Separating minor organisation issues from load-bearing damage prevents both overreaction and false reassurance. Do not run another loaded walk to "double-check" a damaged component.
Photograph the relevant part and contact the manufacturer with the model information when the cause is unclear. Include the adjustment reference and the load description. That gives support staff a concrete problem to examine and reduces the chance of receiving generic advice for a different harness generation.
Compare single- and double-strap configurations only when approved
A conversion must belong to the design
Some carry bags provide an intended way to use one or two shoulder straps, while others do not. Check the actual model instructions before disconnecting part of the harness. PING's Hoofer page identifies a convertible arrangement and a back puck associated with that conversion, but that description should not be generalised to another bag. [3]
If your model supports both configurations, evaluate each with a realistic, manageable load and a short ordinary walk. Keep the purpose clear: you are comparing convenience and control for a particular use, not proving that one arrangement is medically superior. An occasional short carry and a full course walk are different tasks, so do not transfer a brief preference into an unlimited recommendation.
Do not improvise a one-strap system
Removing an attachment from an unapproved arrangement can change how the load is supported. Avoid making that change merely because another bag has a similar-looking strap. Ask the manufacturer for the intended configuration and any compatible parts. A harness conversion is not established by the fact that the remaining clip stays closed.
Record the configuration that was actually tested. If you later reconnect the second strap, return to the model instructions and recheck routing and adjustment. This avoids assuming that a previous photograph still describes the current load-bearing arrangement after components have been detached or moved.
Consider replacement straps carefully
Compatibility is more than matching clips
A replacement harness must be approved for the bag's attachment arrangement and intended load path. A clip that physically closes around a loop does not establish that the system is compatible. Ask for the exact bag model and generation to be named in the recommendation, particularly when buying a used or third-party strap set.
VESSEL states compatibility for its Equilibrium 2.0 strap within its own stand-bag collection. That statement should not be extended to unrelated bags with superficially similar attachment points. Use manufacturer-specific compatibility information rather than assuming that all four-point systems are interchangeable. [2]
Compare repair with the whole bag's condition
A new harness may be worthwhile when the bag body, anchors and stand are sound and a compatible part is available. However, replacing the shoulder pads does not repair a damaged attachment point or make an unsuitable bag layout comfortable. Assess the complete bag before spending money on one component.
Obtain a current quote for the approved part and any necessary fitting or repair. This guide does not give a generic price because the model and work required are not known. Compare the total with the condition and expected usefulness of the bag, rather than treating the cheapest replacement strap as automatically the best value.
Decide when carrying is not the best option
The bag does not have to pass every day
A load that feels manageable on one occasion may not suit another day's route, weather or physical condition. Choosing a trolley or another permitted option is a practical decision, not a failure of harness fitting. Keep the equipment choice connected to the day you are planning rather than to an expectation that a carry bag must always be carried.
Reducing unnecessary contents can help, but do not remove essentials or ignore symptoms to preserve the plan. A short test that reveals a problem has saved you from discovering it much farther from the clubhouse. Treat that information as a reason to change the arrangement, not as an obstacle to overcome by tightening the straps again.
Get the right kind of help
The manufacturer or retailer can address harness compatibility, routing and damaged parts. A qualified repair professional can assess appropriate repairs. Persistent pain, numbness, tingling or other physical concerns need appropriate health advice rather than an equipment article's reassurance. These are different forms of help, and the distinction keeps the response useful.
When describing the problem, include what happens, when it begins and what you were carrying. Avoid claiming that a particular strap design caused or will cure a medical condition. This guide is about a practical carrying check, and its recommendations should remain within that equipment-focused scope.
Keep a repeatable carry record
Save the useful configuration
Once you find a workable arrangement, photograph the adjustment points and note the load and outer layer used. Keep the model instructions with that record. This makes it easier to restore the configuration after lending the bag, removing the harness or packing it for storage, without relying on memory.
Do not regard the record as permanent. Recheck after a harness replacement, a significant load change or any sign that a buckle has moved. The useful reference is a starting point that has been observed in use, not a guarantee that the bag never needs inspection again. A brief pre-round look can catch an obvious issue before the walk begins.
Revisit the load as the season changes
Waterproofs, extra layers and accessories can accumulate gradually. Empty and repack the bag periodically so the loaded test still represents reality. A harness that seems to have become less comfortable may be carrying a different set of contents from the one you originally assessed.
Keep the seasonal comparison simple: what was added, where it sits and whether the short walk still feels controlled. There is no need for a complicated spreadsheet or a body-weight formula. The value comes from noticing a real change and responding to it deliberately rather than assuming that strap tension alone determines the carrying experience.
Pros and cons of a loaded walking test
What it can reveal
The check uses your actual equipment, clothing and packing habits, so it can expose slipping straps, awkward access or load movement that an empty-bag demonstration misses. It is also reversible: you can repack, adjust through the intended mechanism and compare again without permanently altering the bag.
A clear record helps you ask a retailer a focused question and can prevent an unnecessary replacement. Sometimes the useful change is simply removing accidental weight or correcting a twist. The test is valuable because it distinguishes those manageable issues from problems that need a different part, professional help or another carrying option.
What it cannot promise
A short walk cannot certify a safe load for every golfer or predict comfort over a full round. It does not diagnose physical symptoms, test the strength of damaged parts or validate an unapproved replacement harness. Those limitations should shape how you use the result.
The method also depends on a realistic load and a willingness to stop. A deliberately light demonstration followed by an overloaded course bag defeats the purpose. Keep the test honest, use the actual intended arrangement and accept that the best result may be a decision not to carry on that occasion.
Common mistakes that undermine the fit
Chasing symmetry instead of function
Equal strap-tail lengths can look reassuring, but they do not prove that the harness is correctly adjusted for an asymmetric bag or your comfortable carry. Follow the intended configuration and observe the loaded result. A photograph of the tail lengths is a reference for your own setup, not a universal fitting chart.
Another mistake is changing several buckles and the pocket load at once. That makes it difficult to know what helped and how to reverse a poor result. Start from a recorded baseline, make a small intended change and repeat the same short check. A slower first adjustment can save repeated frustration later.
Ignoring the transitions and the warning signs
Walking is only part of carrying a golf bag. Include putting it on, taking it off, setting it down and accessing equipment. A harness that feels acceptable during a straight walk may still be awkward in those ordinary transitions. Record the specific difficulty rather than declaring the whole bag comfortable from one stage alone.
Do not continue through slipping hardware, visible damage or persistent discomfort. Nor should you add improvised load-bearing parts to force a result. Stop, identify the correct source of help and reconsider the load or transport choice. A useful fitting process has a clear stopping point as well as a clear adjustment method.
Frequently asked questions
Should I adjust the straps with the bag empty?
Inspect and establish the correct routing before loading, but evaluate the carrying fit with a realistic, manageable load. Clubs, water and clothing can change how the bag behaves. Set the bag down safely between adjustments and follow the exact model's instructions rather than pulling unfamiliar buckles while carrying it.
Should both strap ends be the same length?
Not necessarily. The bag and attachment geometry may be asymmetric, and equal visible tails do not prove a correct fit. Use the manufacturer's configuration and assess comfort, control and secure adjustment. Keep photographs of your own workable setting instead of copying someone else's measurements.
Is there a correct angle for every carry bag?
This guide does not prescribe a universal angle. Different bags are designed to sit differently, and the useful check is whether the load remains controlled, the clubs are secure and you can walk normally. Follow the model guidance and seek help when the intended position is unclear.
Can I fit any replacement double strap?
No compatibility should be assumed merely because clips appear to fit. Confirm the exact bag model, generation and approved attachment arrangement with the manufacturer or supplier. An unapproved harness can change the load-bearing system, so treat replacement as a compatibility decision rather than a cosmetic accessory purchase.
What if one shoulder keeps feeling uncomfortable?
Stop the test and check the visible, reversible issues such as a twist, poor pad placement or an uneven load. Do not repeatedly tighten through persistent discomfort. Ask the manufacturer about the equipment arrangement and seek appropriate health advice for ongoing symptoms. A general guide cannot diagnose the cause remotely.
How long should the walking test last?
Begin with only a few minutes on a clear, level route and stop sooner if needed. Any longer follow-up should be cautious and appropriate to you. The suggested duration is an observation window, not a safety standard or evidence that a full round will be comfortable.
Should I carry fewer clubs to make the harness fit?
A lighter, deliberate load may be more manageable, but it does not repair a poor harness arrangement or damaged hardware. Decide what equipment you actually need and whether carrying is suitable for the day. Do not strip out essentials merely to make an unrealistic test feel successful.
Final recommendation: fit the real load and keep the changes reversible
Inspect first, identify the exact harness system and pack for the walk you intend to take. Make small adjustments through the manufacturer's intended mechanism, with the bag supported between changes. A short level walk, ordinary lifting transitions and a repeat with your outer layer provide more useful information than comparing strap lengths in an empty bag.
Keep the arrangement that remains controlled and comfortable, and record it for future reference. When the harness slips, the hardware is damaged or discomfort persists, stop and seek the appropriate help. The purpose of the test is to make carrying a considered choice, not to prove that every bag can be made suitable by tightening another buckle.
Sources and fact-checking notes
Official material was checked on 4 October 2026. Manufacturer specifications and instructions are distinguished from the suggested practical checks in this guide. Illustrative examples are not original product-test results. Check the exact current model instructions before acting on a consequential specification.
- Sun Mountain – Official how-to videosSeparate E-Z Fit and X-Strap installation/adjustment resources; use the matching system.
- VESSEL – Equilibrium 2.0 double strapManufacturer description of its four-point swivel and named collection compatibility.
- PING – Hoofer carry bagNamed model's padded, convertible shoulder-strap arrangement; not a cross-brand instruction.
Illustrations in this article were created for Taylor’s Trailblazing Golf Gear. Third-party photographs, where used, are credited beside the image or in the source list.