Putter Length for Golfers Who Crouch: A Home Setup Check
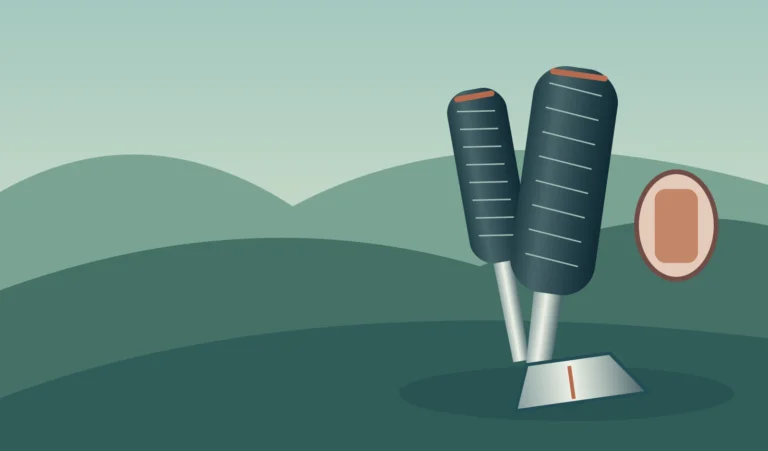
Observe your normal hand position without forcing your posture or cutting the shaft.
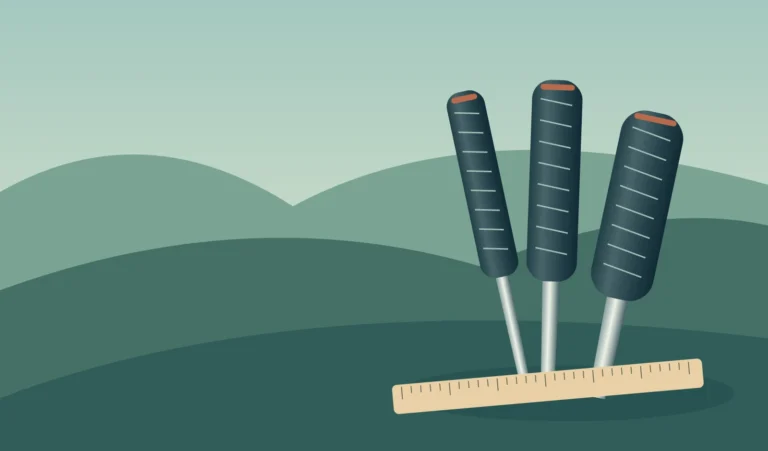
Original conceptual illustration; not a product or test photograph.
Putter length for golfers who crouch cannot be chosen reliably from height alone. Two golfers of the same height can place their hands very differently because they bend their knees, hinge at the hips or stand a different distance from the ball. The useful starting point is the putting position you can adopt comfortably and repeat, not a stock length copied from somebody else.
This home check helps you describe that position, compare grip heights without cutting a shaft and recognise when length is being confused with lie angle or head design. It is a preparation exercise for a fitting, not a prescribed posture or a promise of better scores. No putters have been physically tested for this article, and the suggested session is an original practical protocol rather than a validated fitting test.
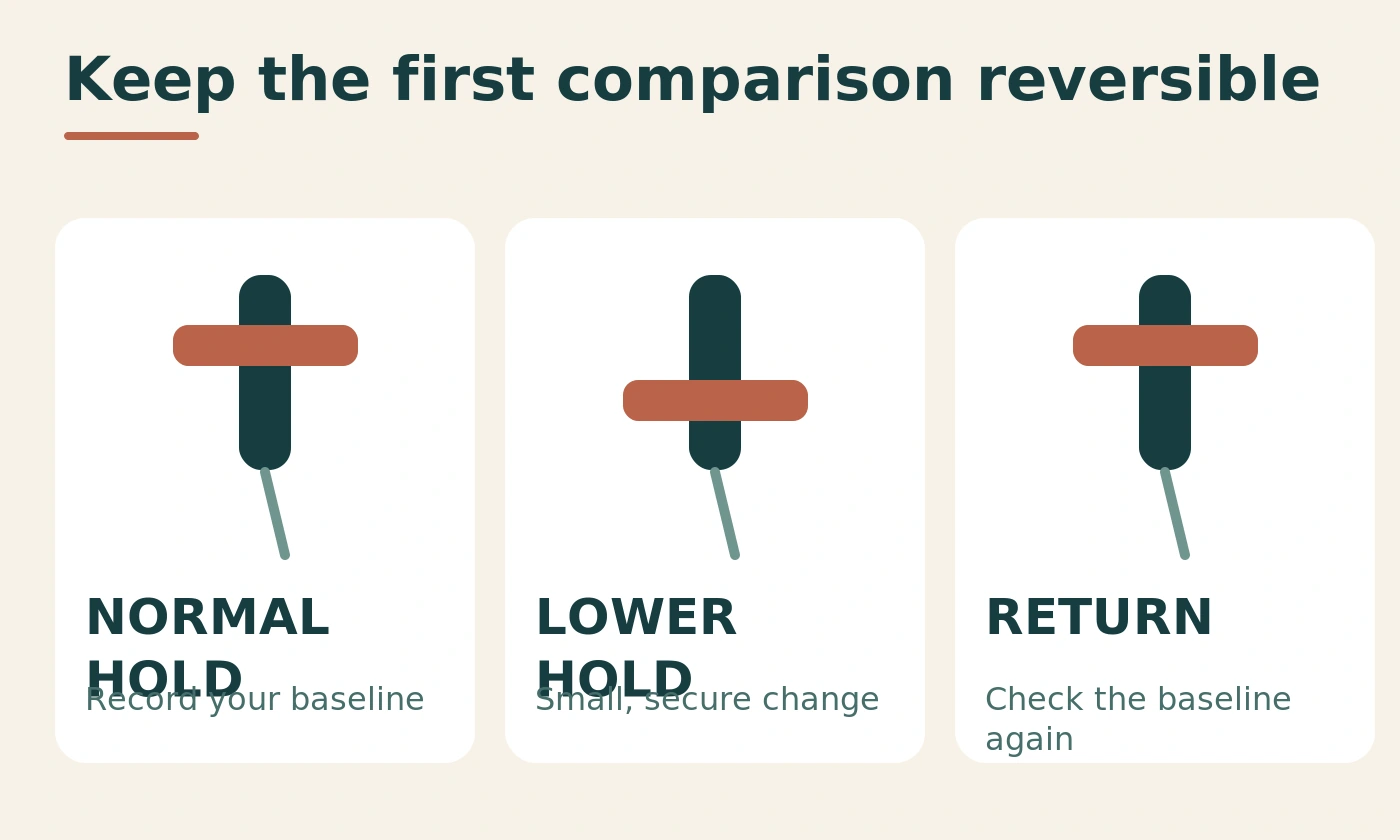
Your normal setup
A crouch is not a length measurement.
A small lower hold
Keep hands securely on the usable grip.
Length is not lie
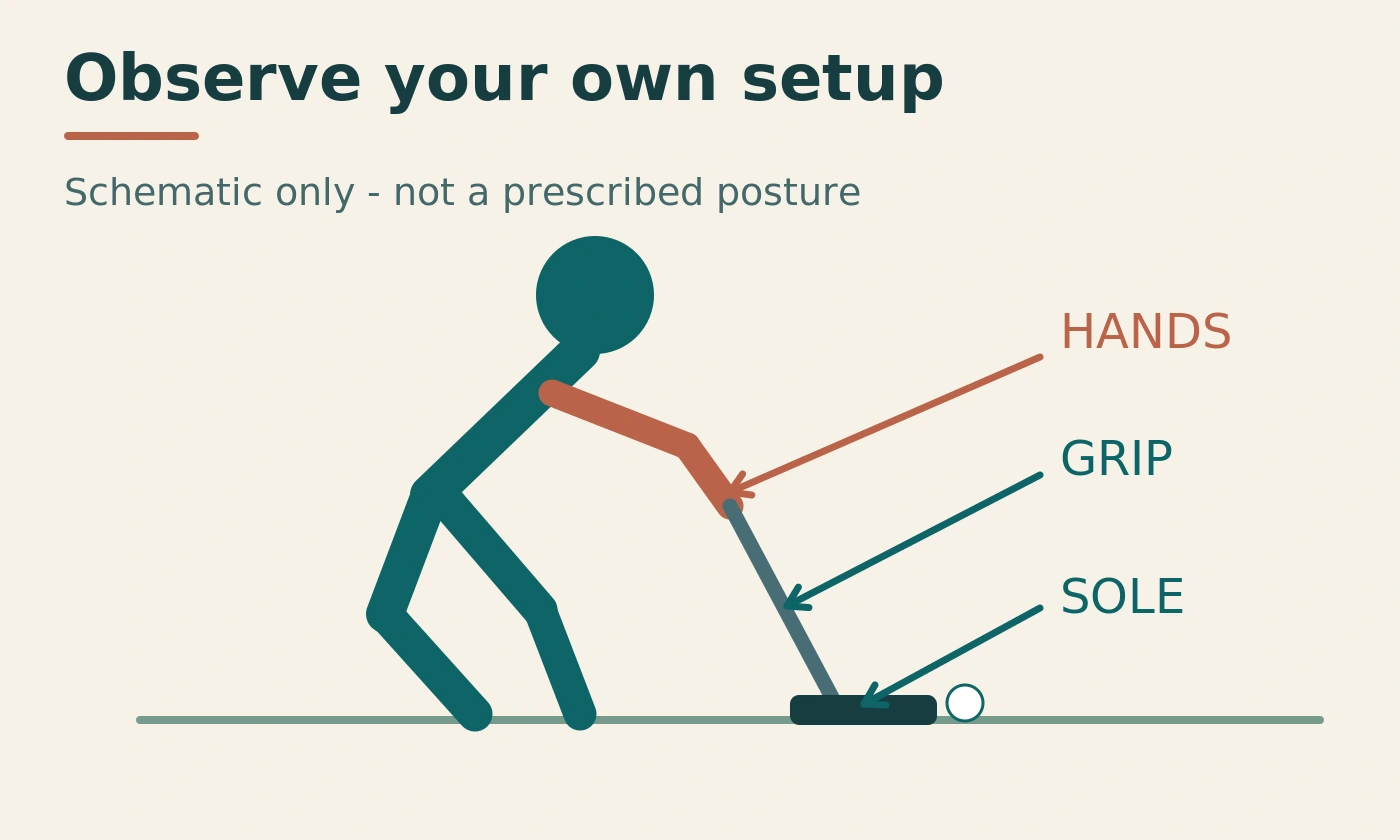
Observe the sole without bending the club.
Bring a clear record
A fitter checks the complete specification.
Putter length for golfers who crouch: start with the setup
Crouching is a description, not a measurement
The word "crouch" can describe several different positions. You might bend your knees noticeably while keeping your torso relatively upright, or hinge more at the hips with only a small knee bend. Another golfer may lower their hands by standing closer to the ball. Those positions do not create identical relationships between the hands, shaft and ground.
Instead of deciding that crouching automatically requires a particular shorter length, record what your own setup looks like. A brief side-on and face-on video is more informative than a height chart when discussing an unusual address position. However, use the recording to describe the setup rather than to diagnose a physical problem or copy a professional golfer's posture frame by frame.
Choose a position you can return to
Set the putter down and address a ball in your normal way. Step away, relax and repeat. Notice whether you have to search for the same position, reach for the grip or hold an exaggerated bend. A setup that appears tidy for one photograph but feels awkward on the next attempt is not a useful foundation for choosing equipment.
Comfort and repeatability matter more than achieving a prescribed silhouette. If putting produces pain, persistent discomfort, tingling or numbness, stop the test and seek appropriate professional advice rather than trying to solve it through a length experiment. Equipment fitting and health assessment answer different questions, and a home guide should not blur that boundary.
Know what length can and cannot tell you
Length influences the relationship to the ball
Scotty Cameron's fitting guidance links putter length with posture and eye position. It describes problems that can accompany a putter that is too long or too short, and uses an eye position just inside the target line in its own fitting approach. Treat that as manufacturer guidance, not proof that every golfer must reproduce an identical eye position. [1]
The practical lesson is to evaluate the whole address relationship. Ask whether the grip is where your hands naturally arrive, whether the ball position remains sensible and whether you can look towards the target without reorganising your stance. A length number is useful only when it describes a club that supports that relationship.
Length is not a cure for every miss
A missed putt can involve aim, strike, pace, read, face delivery or the surface itself. Therefore, one ball missing left does not diagnose a putter that is too short, and one holed putt does not certify a good fit. Your home check should look for a repeatable equipment-related pattern, not explain every result through a single variable.
PING presents its online fitting tools as a starting point and recommends refining their suggestions with a certified fitter. That is a useful model for this exercise too: gather observations that make a fitting more focused, while leaving the final specification to an assessment that can separate the relevant variables. [2]
Prepare a safe and useful home test area
Choose a surface you can describe
Use a clear, level indoor area with enough room for a short putting stroke and a ball to stop safely. Keep other people and pets out of the path. A putting mat is useful, but an existing suitable surface can work for comparing setups if you acknowledge its limitations. Do not assume a carpet behaves like the practice green at your club.
Place a soft backstop beyond the target and remove hard objects that could create an awkward rebound. The test does not need full swings, a net or a long corridor. Start with a short distance that fits the room comfortably. If the available space makes you stand at an angle or shorten your normal follow-through, it is not suitable for this comparison.
Assemble a small recording kit
You need your putter, a few clean matching balls, your normal golf shoes, a notebook and a phone or helper. A ruler or tape measure can record reference points, but it is not a substitute for a club-length measuring method. Low-tack markers can identify foot positions on a suitable surface; check that they will not damage the floor or mat.
Write the date, surface and footwear at the top of the page. These details seem minor until you compare another session in slippers on a different carpet. Keeping them consistent makes changes easier to interpret. Avoid placing the phone, tape or notebook where you might stand on it while concentrating on the putt.
Record the putter you already use
Capture the specification without guessing
Write down the make, model, stated length, grip type and any known alterations. If the length is only a seller's description, label it as stated rather than measured. A home measurement along a shaft may not match a manufacturer's or fitter's method, especially where the shaft enters a head with a particular neck or bend.
Do not order a replacement by subtracting your grip-down distance from an uncertain length label. First establish what the current club actually is. A fitter can measure it consistently and check whether the grip, shaft or head has been changed. That baseline prevents a new purchase being based on a number that was never comparable in the first place.
Record where your hands sit
Take a close photograph of your normal hand position on the grip. Note how much grip extends above your upper hand and whether your lower hand approaches the end of the usable gripping area. This makes later comparisons specific. "I held it a bit lower" is much less useful than a repeatable marked reference.
Keep any temporary reference unobtrusive and off the striking surface. Do not add bulky tape under the hands or create a raised ridge that changes the grip feel. The aim is to compare hand height while disturbing as little else as possible. If the grip shape prevents a comfortable lower hold, record that limitation rather than forcing the experiment.
Film the setup from two useful directions
The side view describes posture and reach
Place the camera far enough away to include your shoes, body, hands and putter head without a very wide-angle distortion. Keep it outside the ball path. A side view can help show whether you are reaching down to the grip, changing your knee bend or shifting your balance as you address the ball. It does not provide a clinical assessment of your back or joints.
Record several ordinary setups rather than one carefully posed still. Step away between attempts. That reveals whether the posture you are assessing is the one you naturally reproduce or the one you can manufacture after looking at the camera. A helper can start the recording so you do not keep bending down to operate the phone between putts.
The face-on view adds another piece
A face-on view helps record hand position, shaft lean and where the ball sits relative to your stance. Keep the camera position unchanged when comparing grip heights. Otherwise, a different angle can create the impression that your setup changed more than it actually did. Save the clips with simple labels such as "normal" and "lower grip".
Do not try to measure tiny angles from an ordinary phone image and report them as fitting data. Perspective, camera height and lens distortion can all affect the picture. The useful output is descriptive: a consistent heel or toe lift, a noticeable change in hand position, or a stance that becomes harder to repeat. Leave precise loft and lie measurements to appropriate equipment.
Establish a baseline before making a change
Use a short, repeatable block
Choose a straight start line and a distance that suits your space. For this suggested protocol, begin with six normal putts after a few warm-up rolls. Record whether the ball starts through your chosen corridor and where it finishes. The number six is a manageable session choice, not a statistically validated sample size or a fitting industry standard.
Also note comfort, grip security and whether you repeatedly reposition your feet before making the stroke. These observations can be more relevant to the length question than the number of putts holed. A home target with a ramp or a forgiving cup may reward a putt that would behave differently on a green, so describe the target rather than treating every success as equivalent.
Repeat the address, not just the stroke
Step away and rebuild the setup for each putt. Standing over six balls without moving mostly tests repetition from a fixed position. The question here includes whether the putter helps you return to a usable address position. Rebuilding the stance exposes a setup that only feels right after a long period of adjustment.
Keep your ordinary pre-putt routine rather than inventing an elaborate new one for the test. If you normally take a practice stroke, keep it consistent. If you do not, do not add several merely to make the session feel technical. The more familiar the routine, the easier it is to relate the observations to the way you actually putt outside the house.
Try a reversible grip-down comparison
Make a small change and keep it comfortable
After recording the baseline, move your hands slightly lower on the grip while keeping them fully on a usable gripping surface. A reference around 10-15 mm lower can be a convenient starting comparison, but it is only a suggested test increment. It is not a recommendation to shorten every crouching golfer's putter by that amount.
Return to a comfortable stance rather than bending further simply to reach the new hand position. If the lower grip feels cramped, insecure or unnatural, stop that comparison. You are investigating whether the club can support your setup, not training yourself to tolerate an uncomfortable position. A negative result is useful because it narrows the question for a fitter.
Recognise the limits of gripping down
Gripping down does not perfectly reproduce a shorter finished putter. The grip shape under your hands may differ, more material remains above them and the balance you feel can be different from a professionally altered build. Therefore, treat a favourable response as a reason to investigate a shorter specification, not as an instruction to cut the existing shaft.
Do not simulate a longer putter by holding the end insecurely or adding an improvised extension. Borrowing a properly assembled alternative or using an approved adjustable fitting putter is a safer way to examine that direction. Ask a retailer to help with the comparison when your existing grip does not allow a meaningful reversible test.
Compare the two setups without favouring the new one
Alternate rather than exhausting one condition
After the baseline, try six putts with the lower grip, then return to six with your normal hold. In a later session, reverse the order. This simple alternation helps you notice whether an apparent improvement persists when the novelty has worn off. It does not turn a small home exercise into a laboratory trial.
Take a brief break between blocks and stop before you become tired or irritated. A setup that looks better only after you have warmed up may not be better because of the length. Likewise, a late decline may reflect fatigue rather than the club. Write down those possibilities instead of assigning every difference to the change you intended to test.
Use a balanced scorecard
Record start-line results, pace, comfort and repeatability separately. A lower grip might feel easier to address but produce no clear change in ball results. Another setting might hole more short putts while making you feel cramped. Neither outcome should be compressed into a single "better" tick without explanation.
| Observation | Normal hold | Lower hold | What to discuss |
|---|---|---|---|
| Comfortable address | Your notes | Your notes | Whether posture is being forced |
| Grip security | Your notes | Your notes | Grip shape and usable hand position |
| Sole appearance | Your notes | Your notes | Possible length/lie interaction |
| Start-line pattern | Count and direction | Count and direction | Repeatability, not one best putt |
| Pace pattern | Short/long tendency | Short/long tendency | Surface and strike limitations |
On smaller screens, scroll this table sideways.
The table is a recording template, not a set of expected results. Leave a cell uncertain when the difference is too small to judge. That is more useful than creating a tidy conclusion from weak evidence.
Watch the sole, but do not diagnose lie angle at home
Note a repeated heel or toe lift
Look at how the putter sits when you take your comfortable address position. If the heel or toe appears consistently raised, record it from the same camera position. However, do not force the sole flat by changing your posture or pressing the head into the mat. You would then be measuring a position created to satisfy the club rather than the position you intend to use.
A sole observation can raise a fitting question, but it does not determine the required lie adjustment. Head shape, neck design, shaft lean and the way you place the club can affect what you see. Take the putter itself to a fitter so the observation can be checked against actual specifications and ball delivery.
Length and lie should be considered together
Lowering the hands may change the way the shaft approaches the head and the way the sole presents at address. Consequently, a shorter length is not automatically the whole answer when a crouched position produces an awkward-looking sole. A fitter may need to evaluate more than one specification rather than repeatedly shortening the club.
Never bend a putter at home to compensate for an experimental grip position. Nor should a retailer make an alteration solely from a photograph without assessing the relevant club and setup. Your contribution is a clear description of what repeats; the professional contribution is identifying which equipment changes, if any, are appropriate.
Treat eye position as information, not an absolute target
A mirror can reveal a relationship
A purpose-made putting mirror can help you see where your eyes appear relative to the ball and target line. However, the tool is only a reference surface. It does not know your visual preference, intended stroke or suitable club specification. Avoid forcing your head into a position just because a printed line suggests that every golfer should look identical.
Scotty Cameron's guidance is one example of a fitting approach that places the eyes slightly inside the line. Other observations still need to be evaluated in the context of the golfer and putter. The home question is whether your view and aim remain comfortable and repeatable when hand height changes, not whether you can match a single diagram. [1]
Do not let the mirror become the whole test
After a few checks, remove the mirror and repeat the setup without it. A position that can only be found while staring at a reflective guide may not transfer easily to the course. Compare the ordinary putts, not just the most carefully aligned practice stroke. Keep the mirror outside any situation in which its use would be prohibited by competition rules. [3]
A phone image and a mirror answer slightly different questions. The first records posture from outside; the second gives you a view from address. Neither is a substitute for a fitter checking aim and delivery. Use them to communicate a recurring pattern, and resist adding more equipment simply because the initial observations are not perfectly conclusive.
Separate grip and head preferences from length
A different grip can change the comparison
A thick, tapered, shaped or counterbalanced grip can place your hands differently from a slim conventional grip. Therefore, comparing two putters with different grips is not a clean length-only test. Record the difference rather than ignoring it. A lower hold on a strongly tapered grip may feel less secure even when the hand height itself is promising.
Do not purchase a new grip solely to make an unsuitable length experiment possible. First ask a fitter whether the grip is part of the issue and whether a temporary comparison can be made. Altering grip, length and head weight together can be a legitimate fitting decision, but it should be deliberate and documented rather than an accumulation of guesses.
Head design remains part of the equipment
Scotty Cameron's selection material treats shape, neck, toe flow, length and grip as related selection considerations. It does not present length as the only specification worth assessing. A home exercise focused on crouching should therefore avoid claiming that a particular head category is automatically correct for every low-handed setup. [1]
When trying another putter, write down what changed besides length. A different alignment aid or head shape may make aiming feel easier, while the length is almost incidental. That does not invalidate the preference; it changes the conclusion you can draw. The accurate statement may be "this complete putter feels easier to use", rather than "I definitely need a shorter shaft".
Take the home observations onto a practice green
Confirm that the pattern survives a different surface
A useful indoor result deserves a cautious check on a permitted practice green. Begin with a few short putts, then include longer putts where space and other users allow. Keep the purpose narrow: does the preferred hand position remain comfortable and repeatable when the surface, visual background and required pace change?
Do not expect indoor pace numbers to transfer directly. A home mat gives a controlled reference, but the outdoor green can behave differently. Look for consistent setup observations instead of demanding identical stopping distances. If a preference disappears outdoors, record that outcome and take both sets of notes to the fitting rather than choosing whichever session supports your original hope.
Respect the practice setting
Ask before placing a mirror, gate or other aid on a shared green, and do not monopolise a hole for a long test. Move aside when necessary and collect balls promptly. A short, considerate session with useful notes is better than a large sample gathered while distracting other golfers or rushing because the area is busy.
Keep equipment experiments outside a competition round. The R&A's equipment rules restrict the use of training aids and deliberate changes to playing characteristics during a round. The exact rule and its exceptions matter in a real situation, so ask the committee when unsure rather than treating a home-practice routine as automatically permissible in play. [3]
Work through three realistic outcomes
Lower hands help, but the evidence is not complete
Imagine that the slightly lower hold makes your address easier to repeat across two sessions, without an obvious loss of grip security. The sensible next step is to ask a fitter to compare shorter finished specifications while checking lie, grip and ball delivery. It is not to cut the shaft by the test distance and assume the finished result will be identical.
Bring the normal and lower-grip recordings, along with a note of the reference difference. Explain that the improvement was in comfort and repeatability rather than claiming a proven scoring benefit. That gives the fitter a clear hypothesis to test and leaves room for the actual equipment measurements to suggest a different solution.
No clear improvement is still a useful answer
If both positions feel similar and the ball results fluctuate, retain the current setup until there is a better reason to change. A home check does not have to produce a shopping recommendation. You may already have a workable length, or the issue may concern aim, grip or technique rather than a specification that this test can isolate.
A third outcome is that crouching becomes uncomfortable or difficult to repeat regardless of grip height. Stop trying to solve that by progressively shortening the putter. Discuss the equipment question with a fitter or coach, and any persistent physical symptoms with an appropriate health professional. Those are separate conversations, and neither should be replaced by a height-to-length chart.
Make a one-page decision note before shopping
Separate the observation from the proposed change
Divide a page into three short headings: what repeats, what remains uncertain and what you want a fitter to check. Under the first, include only observations that appeared more than once, such as needing to reposition the feet or finding the lower grip easier to reach. Under the second, note anything the home method cannot establish, including actual club length, lie specification or the reason for a miss.
The final heading should contain questions rather than a shopping order. For example, ask whether a shorter finished build reproduces the comfortable hand position without creating a different sole or balance issue. That wording leaves room for the answer to involve grip, lie or no equipment change. It also stops a tentative home preference becoming a supposedly precise specification merely because you have written it down.
Decide what would justify spending money
Before browsing putters, decide what evidence you would need to replace or alter the current club. A repeatable improvement in address comfort, confirmed in a proper comparison, is a clearer basis than an attractive new finish. A fitting recommendation that explains the complete build is stronger than a retailer saying that most crouching golfers buy a shorter model.
Keep a no-change option on the page. The current putter may remain suitable, particularly when the home results are inconsistent or the main issue is not isolated. Buying nothing after a useful check is not wasted effort. You have avoided an alteration whose benefit was uncertain and collected a better description of the problem for a future lesson or fitting.
Preserve the comparison after the appointment
When a professional recommends a change, add the measured specification and the reason to the same page. Keep the original observations separate from the fitting findings. This preserves the distinction between what you noticed at home and what was assessed with the actual club and appropriate equipment.
If the final recommendation differs from the home hypothesis, record why. Perhaps the hand height was useful but a different grip or lie specification was needed to support it. That explanation is more valuable than remembering only the final length, because it shows how the completed putter relates to the setup you were trying to achieve.
What to bring to a putter fitting
Bring evidence in a small, readable form
Take your current putter, normal golf shoes and the few recordings that best represent your usual setup. Add the stated or measured club length, known alterations and the grip-down reference used. One page of clear observations is more useful than a large folder of unlabeled clips. Include outcomes that did not support your preferred change.
Explain your main concern in ordinary language: "I crouch naturally and feel I have to reach for this grip", or "a lower hold feels calmer, but the heel appears raised". Avoid presenting a home-derived length as a specification the fitter must confirm. The purpose of the appointment is to examine the idea, not to rubber-stamp it.
Ask for the complete recommendation
Request the final length, lie, loft and grip details that the fitter considers relevant, together with an explanation of any changes. Ask whether the recommendation was assessed with the actual head you intend to use. A length figure without context is difficult to reproduce when shopping or altering a different model later.
PING's recommendation to refine online results with a fitter reinforces this boundary between initial guidance and a final build. Use your home session to make the appointment more focused, then keep the resulting specification as the new reference. That record will be more valuable for a future purchase than remembering only that the new putter was "shorter". [2]
Pros and cons of the home setup check
What it does well
The exercise is inexpensive, reversible and based on the putting position you actually use. It can expose an awkward reach, an unusable part of the grip or a repeatability problem that a generic height chart misses. It also helps you describe the issue to a fitter without needing specialist language or equipment.
Because the test keeps the existing putter, it can reduce the temptation to buy several different models before understanding the question. A clear result may justify a fitting; an unclear result may justify leaving the club alone. Both are sensible outcomes when the alternative is an irreversible alteration based on a guess.
What it cannot establish
A small home session cannot certify ideal length, measure dynamic loft accurately or prove that a change will lower scores. Gripping down is an approximation, camera views have limitations and the surface may not resemble a green. These are reasons to interpret the result carefully, not reasons to invent more precise numbers than the test supports.
The exercise also cannot diagnose pain or prescribe a posture for a physical condition. Stop when symptoms occur, and separate the health question from the club-selection question. A useful home check makes the next conversation clearer; it should not create confidence beyond the evidence it can realistically provide.
Common mistakes to avoid
Forcing the body to fit the label
Do not deepen your crouch merely because a chart says you should use a shorter putter. Equally, do not stand unnaturally upright to justify keeping a club whose grip is too high for your comfortable setup. Start with the position you can repeat, then ask which equipment supports it. A stock length is an option, not a target your body must satisfy.
Another mistake is matching a professional golfer's posture while ignoring differences in build, club and technique. A video can inspire a question, but it cannot provide your personal specification. Record your own setup and investigate the actual relationship between your hands and putter instead.
Making an irreversible change too early
Cutting the shaft after a few good putts removes the very baseline you were trying to compare. It can also introduce new grip and balance questions. Keep the first experiment reversible, repeat it and have the completed build assessed before alteration. A promising observation is a starting point for a fitting, not a finished work order.
Finally, avoid judging the result by the best putt or the neatest photograph. Include the ordinary attempts, the awkward setups and the sessions where nothing changed. A recommendation that survives those observations is more useful than a conclusion built around the one moment that looked convincing.
Frequently asked questions
Does crouching always mean I need a shorter putter?
No. Crouching changes the setup, but knee bend, hip position, arm length and distance from the ball can combine in different ways. The relevant question is where your hands arrive in a comfortable, repeatable stance. Use the home check to describe that position, then have the actual club assessed rather than choosing a length from the word "crouch".
Can I choose putter length from my height?
Height can contribute to an initial discussion, but it does not fully describe a putting posture. Two golfers of the same height may use different hand heights and grips. Treat any chart as a starting suggestion, not a final specification. An unusual crouched setup makes observing the actual address relationship particularly useful.
Is gripping down the same as shortening the shaft?
No. It changes where your hands sit on the existing grip, while leaving material above them and potentially changing the grip shape they hold. It is useful because it is reversible, but a finished shorter putter may feel different. A favourable grip-down comparison should lead to a proper build comparison, not an automatic cut.
Should the putter sole be perfectly flat at address?
A repeated heel or toe lift is worth showing a fitter, but do not force the sole into a position by changing your comfortable stance. Head design, shaft lean and lie specification all need context. A home photograph is not enough to determine a bending adjustment, and the club should not be modified from appearance alone.
How many putts make the home result reliable?
There is no validated number supplied by this guide. The suggested short blocks are designed to be manageable and repeatable, not statistically definitive. Look for a pattern across more than one session and include comfort as well as ball results. Small or inconsistent differences should remain uncertain rather than becoming a precise fitting conclusion.
Can a shorter putter fix back discomfort?
This guide cannot diagnose discomfort or promise relief from an equipment change. Stop a test that produces pain or persistent symptoms and seek appropriate advice. A fitter can assess club suitability, while a health professional can address the physical concern. Do not keep shortening the putter as a substitute for either assessment.
Should I buy an adjustable putter for this test?
Not necessarily. Begin with the putter you own and a safe, reversible grip comparison. An approved adjustable fitting club can be useful with a retailer, but it is not an essential first purchase. Any adjustment should follow that model's instructions, and the final recommendation should still consider the complete putter rather than length alone.
Final recommendation: investigate hand height before buying length
Use your normal putting posture as the starting point, document the current club and compare one small reversible change. Keep the surface, shoes, camera position and routine consistent enough that the observations mean something. A lower hold that repeatedly feels better is worth exploring with a fitter; a result that remains unclear is not a reason to cut the shaft.
For a golfer who crouches, the best outcome is a putter that supports a comfortable, repeatable setup without forcing the body into a position chosen by a chart. Bring the home evidence to the fitting, ask for the complete specification and keep the final record. That is a more dependable route than ordering a shorter putter simply because your stance looks low.
Sources and fact-checking notes
Official material was checked on 4 October 2026. Manufacturer specifications and instructions are distinguished from the suggested practical checks in this guide. Illustrative examples are not original product-test results. Check the exact current model instructions before acting on a consequential specification.
- Scotty Cameron – The Art of PuttingManufacturer approach to length, eye position, neck, grip and head selection; not a universal posture prescription.
- PING – WebFit guidanceGeneral distinction between a starting recommendation and an in-person fitting; not a crouch-specific putter-length standard.
- R&A – Rule 4, The Player's EquipmentRestrictions on training aids and changing playing characteristics during a round.
Illustrations in this article were created for Taylor’s Trailblazing Golf Gear. Third-party photographs, where used, are credited beside the image or in the source list.